


Building electronic projects with Arduino has become a cornerstone for hobbyists, engineers, and educators. Whether you’re creating a simple LED blinker or a complex IoT device, a structured approach to prototyping is essential for success. This Arduino prototyping guide will walk you through the essential steps, tools, and best practices to help you turn your ideas into functional prototypes efficiently and reliably.
If you’re interested in the broader context of electronics development, including materials and integration, you might also find the electronic product design PCB material selection guide helpful for understanding how to choose the right components for your prototype.
Why Structured Prototyping Matters in Arduino Projects
A well-organized prototyping process saves time, reduces errors, and helps you iterate quickly. By following a clear workflow, you can identify potential issues early and ensure your project meets its intended goals. This is especially important in environments where deadlines and budgets are tight, or when your prototype will serve as a foundation for future production.
Essential Tools and Materials for Arduino Prototyping
Before starting your project, gather the necessary tools and components. Having the right equipment on hand will streamline your workflow and minimize interruptions.
- Arduino Board: Choose a model that fits your project’s requirements (e.g., Uno, Nano, Mega).
- Breadboard: For temporary circuit assembly and easy modifications.
- Jumper Wires: Flexible connections for rapid circuit changes.
- Electronic Components: LEDs, resistors, sensors, motors, displays, and other modules.
- Power Supply: USB cables, batteries, or regulated adapters.
- Computer with Arduino IDE: For programming and uploading code.
- Basic Tools: Wire cutters, screwdrivers, multimeter, and soldering iron (for advanced prototyping).

Step-by-Step Process for Building Arduino Prototypes
1. Define Project Objectives and Requirements
Start by outlining what you want your prototype to achieve. List the core features, performance criteria, and any constraints such as size, power consumption, or connectivity. Clear objectives help you select the right hardware and avoid unnecessary complexity.
2. Select the Right Arduino Board and Components
Not all Arduino boards are created equal. Consider factors like processing power, number of I/O pins, memory, and available shields or modules. For example, the Arduino Uno is ideal for most beginners, while the Mega offers more pins for complex projects.
3. Design the Circuit on a Breadboard
Use a breadboard to assemble your circuit without soldering. This allows for quick adjustments and troubleshooting. Place your Arduino, connect components with jumper wires, and double-check connections against your schematic.
4. Write and Upload the Code
Open the Arduino IDE and start coding. Break your program into manageable sections, test each part individually, and use comments for clarity. Upload the code to your board and observe the results, making sure each function performs as expected.
5. Test, Debug, and Iterate
Testing is a critical phase. Use a multimeter to check voltages and continuity. Monitor serial output for debugging information. If something doesn’t work, isolate the problem by testing components and code segments separately. Iterate on your design until you achieve reliable performance.
6. Move to a More Permanent Solution
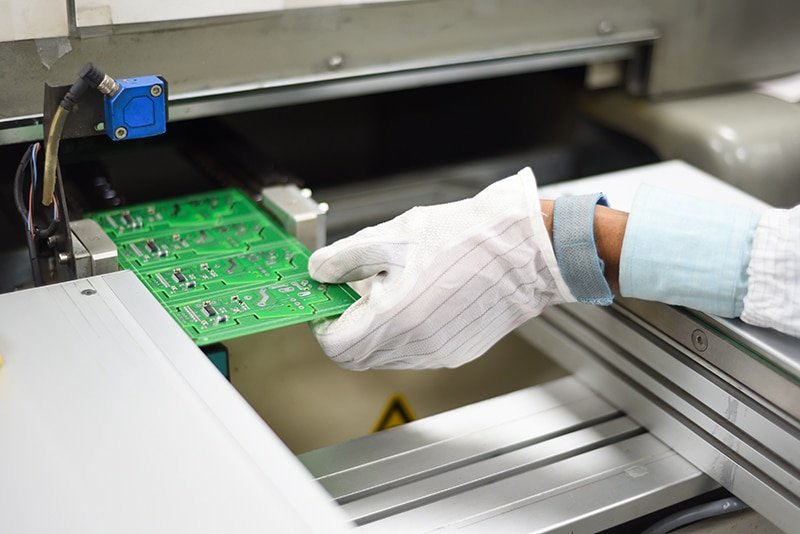
Once your prototype is stable, consider transferring your circuit to a soldered perfboard or designing a custom PCB for durability. For insights into manufacturing and assembly, see this comprehensive overview of electronic manufacturing processes.
Best Practices for Efficient Arduino Prototype Development
- Document Everything: Keep notes on wiring, code versions, and changes.
- Modular Design: Build your project in independent sections to simplify troubleshooting and upgrades.
- Version Control: Use tools like Git to manage code changes, especially for collaborative projects.
- Plan for Testing: Design your prototype with test points and diagnostic outputs to facilitate debugging.
- Consider Future Production: If your prototype may become a commercial product, factor in manufacturability, cost, and compliance from the start. For more on this, the electronic product lifecycle cost analysis guide provides valuable insights.
Common Challenges and How to Overcome Them
Even with careful planning, prototyping can present obstacles. Here are some frequent issues and solutions:
- Unstable Connections: Breadboards can cause intermittent faults. Secure wires firmly and minimize movement during testing.
- Power Supply Issues: Ensure your Arduino and peripherals receive adequate, stable power. Use decoupling capacitors if needed.
- Component Compatibility: Double-check voltage and current ratings. Consult datasheets before connecting new modules.
- Code Bugs: Test code in small sections. Use serial print statements to trace logic and variable values.
- Scaling Up: As your project grows, keep your design modular and organized. This makes it easier to upgrade or troubleshoot.
Integrating Prototyping with Product Design and Testing
Prototyping is just one phase in the journey from concept to finished product. Integrating your prototype with mechanical enclosures, user interfaces, and rigorous testing ensures a smoother transition to production. For detailed strategies on this integration, the electronic product mechanical integration guide is a valuable resource.
Frequently Asked Questions
What is the main purpose of prototyping with Arduino?
Prototyping with Arduino allows you to quickly test ideas, validate concepts, and refine designs before committing to full-scale production. It reduces risk and helps identify potential issues early in the development process.
How do I choose the right Arduino board for my project?
Consider your project’s requirements, such as the number of inputs/outputs, memory needs, and connectivity options. For simple tasks, an Arduino Uno or Nano is often sufficient. For more complex applications, boards like the Mega or specialized variants may be better suited.
What are some tips for troubleshooting a non-working prototype?
Start by checking all physical connections and power supplies. Use a multimeter to verify voltages. Test code in small sections and use serial output for debugging. Replace components one at a time to isolate faults, and consult datasheets for compatibility.
Can I use my breadboard prototype for long-term use?
Breadboards are intended for temporary setups and testing. For long-term or field use, transfer your circuit to a soldered perfboard or custom PCB to ensure reliability and durability.
Conclusion
A systematic approach to prototyping with Arduino helps you bring ideas to life efficiently and reliably. By following the steps and best practices outlined here, you’ll be better equipped to tackle challenges and create robust electronic solutions. For those looking to deepen their understanding of related topics, resources like the electronic product design performance testing guide and electronic product localization considerations offer further insights into the broader landscape of electronic development.