

Designing reliable electronics requires more than just technical know-how; it demands a systematic approach to diagnosing and resolving issues that arise during development. Whether you’re working on a new consumer gadget, an industrial controller, or a custom PCB, effective troubleshooting is essential for achieving robust, manufacturable products. This guide explores proven strategies and practical advice for identifying, isolating, and fixing problems in electronic designs, helping you streamline your workflow and avoid common pitfalls.
For those interested in optimizing their testing process, the electronic product design performance testing guide offers a deeper dive into validation techniques that complement the troubleshooting methods discussed here.
Understanding Common Issues in Electronic Design
Before diving into specific electronic product design troubleshooting tips, it’s important to recognize the types of problems that frequently occur. These can range from power supply instability and signal integrity issues to component failures and software bugs. Early identification of the problem category can save significant time and resources.
- Power-related problems: Voltage drops, noise, or incorrect supply levels can cause erratic behavior or complete failure.
- Signal integrity challenges: Crosstalk, reflections, or electromagnetic interference (EMI) may distort signals, especially at higher frequencies.
- Component mismatches: Incorrect part selection or faulty components can lead to unexpected circuit behavior.
- Thermal issues: Overheating components may degrade performance or reduce lifespan.
- Firmware and software bugs: Embedded code errors can be difficult to trace but often manifest as hardware malfunctions.

Systematic Troubleshooting Approaches
A structured process is key to efficient problem-solving. Here are some essential steps and troubleshooting strategies for electronic products:
- Define the Problem Clearly: Gather as much information as possible about the failure. Is it intermittent or consistent? Does it occur under specific conditions? Documenting symptoms helps narrow down the root cause.
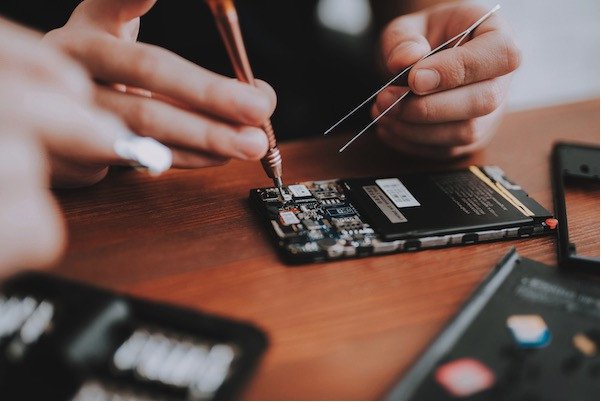
- Visual Inspection: Examine the PCB for solder bridges, missing components, or physical damage. Sometimes, a simple visual check can reveal issues that would otherwise be missed.
- Check Power Rails: Use a multimeter or oscilloscope to verify supply voltages and look for unexpected fluctuations or ripple.
- Signal Tracing: Follow the signal path using an oscilloscope or logic analyzer. Compare actual waveforms to expected ones at key test points.
- Divide and Conquer: Isolate sections of the circuit to determine where the fault lies. Disconnect subsystems or use test firmware to simplify the system under test.
- Consult Documentation: Reference datasheets, schematics, and application notes. Manufacturer documentation often includes troubleshooting advice for common issues.
Effective Use of Test Equipment
Selecting the right tools can make a significant difference in diagnosing problems. Here are some electronic troubleshooting tools and how to use them effectively:
- Multimeter: Essential for measuring voltage, current, and resistance. Use it to check for shorts, opens, and correct supply levels.
- Oscilloscope: Indispensable for viewing signal waveforms, detecting noise, and analyzing timing issues.
- Logic Analyzer: Useful for debugging digital circuits and communication protocols.
- Thermal Camera: Helps identify overheating components or areas with unexpected power dissipation.
- In-circuit Programmer/Debugger: Allows for real-time code inspection and breakpoints in embedded systems.
Design for Testability and Troubleshooting
Building testability into your product from the outset can greatly simplify future debugging. Here are some design practices that aid troubleshooting:
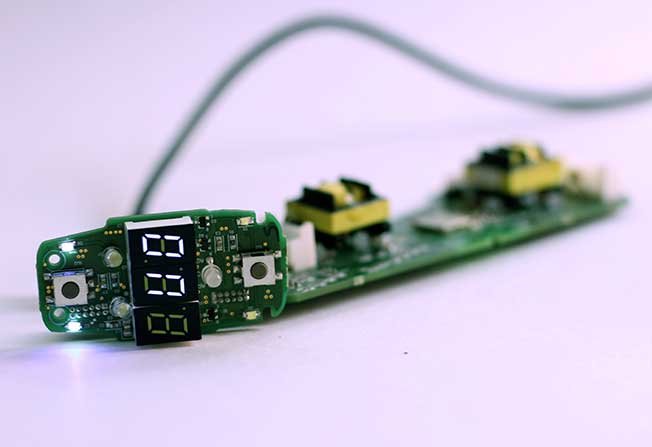
- Test Points: Include accessible test pads for key signals and power rails on your PCB.
- Modular Design: Break complex systems into smaller, independently testable blocks.
- Clear Documentation: Maintain up-to-date schematics, layout files, and firmware revisions.
- Diagnostic Firmware: Implement self-test routines or debug modes for embedded systems.
- Component Labeling: Ensure all parts are clearly marked for easy identification during inspection.
For more on optimizing your PCB for reliability and ease of testing, the electronic product design pcb material selection guide provides valuable insights into material choices and layout considerations.
Advanced Troubleshooting: Signal Integrity and EMI
As designs become more complex and operate at higher speeds, signal integrity and electromagnetic interference become critical concerns. Here are some advanced troubleshooting tips for high-speed electronic designs:
- Use Proper Probing Techniques: Minimize ground loop area and use high-quality probes to avoid introducing artifacts.
- Analyze Return Paths: Ensure signals have a clear, low-impedance return path to reduce noise and crosstalk.
- Check for Transmission Line Effects: At high frequencies, PCB traces act as transmission lines. Use controlled impedance routing and termination where necessary.
- Monitor EMI: Use spectrum analyzers or EMI test receivers to identify sources of radiated or conducted emissions.
- Review Shielding and Grounding: Proper enclosure design and PCB grounding can mitigate many EMI issues.
For a broader perspective on the entire development and manufacturing process, this comprehensive overview of electronic design and manufacturing covers best practices that support both troubleshooting and long-term product quality.
Documentation and Communication During Debugging
Keeping thorough records during the troubleshooting process is vital. Document each test, observation, and hypothesis. This not only helps prevent repeated work but also facilitates team collaboration and knowledge transfer. Use clear, concise language and include photos or annotated schematics when possible.
When working in teams, regular communication ensures that everyone is aligned on the current status and next steps. Sharing findings and lessons learned can help prevent similar issues in future projects.
Preventing Recurring Problems
Once an issue is resolved, take steps to ensure it doesn’t recur. Update design files, revise test procedures, and, if necessary, implement additional checks in manufacturing or incoming inspection. Consider conducting a root cause analysis to understand why the problem occurred and how it can be prevented in future revisions.
For those managing products through their entire lifecycle, the electronic product lifecycle cost analysis guide offers strategies for balancing troubleshooting efforts with cost and reliability considerations.
Frequently Asked Questions
What are the most common causes of failure in new electronic designs?
The most frequent issues include power supply instability, incorrect component placement or orientation, signal integrity problems, and software bugs. Careful schematic review, thorough testing, and attention to layout can mitigate many of these risks.
How can I quickly isolate a fault in a complex circuit?
Start by dividing the system into functional blocks and testing each independently. Use test points, diagnostic firmware, and systematic measurements to narrow down the fault location. Visual inspection and referencing documentation are also effective first steps.
Why is it important to design for testability?
Designing for testability makes it easier to diagnose and fix problems during development and production. Features like accessible test points, modular design, and clear documentation reduce troubleshooting time and improve product reliability.
Conclusion
Effective troubleshooting in electronic product development is a blend of technical skill, systematic methodology, and proactive design practices. By following these electronic product design troubleshooting tips, engineers can identify and resolve issues more efficiently, leading to higher quality products and smoother development cycles. Integrating testability into the design, leveraging the right tools, and maintaining clear documentation are all essential for long-term success in electronics engineering.
