


Building a breadboard prototype is a fundamental step in the development of electronic products. Whether you are a hobbyist, student, or professional engineer, understanding the process of assembling and testing circuits on a breadboard is essential for troubleshooting, refining your design, and preparing for more permanent solutions like printed circuit boards (PCBs). This guide will walk you through the key steps, best practices, and common pitfalls to help you confidently assemble your first breadboard circuit.
Before diving into the hands-on process, it’s important to consider the broader context of electronic product development. For example, understanding electronic product design safety standards comparison can help ensure your prototype meets regulatory and functional requirements from the start.
Understanding Breadboards and Their Role in Prototyping
A breadboard is a reusable platform for quickly assembling and modifying electronic circuits without soldering. It consists of a grid of interconnected holes that allow you to insert electronic components and jumper wires. This makes it ideal for experimenting with circuit layouts, testing new ideas, and verifying designs before committing to a permanent build.
Using a breadboard can save time and resources during the early stages of product development. It enables rapid iteration, easy troubleshooting, and the flexibility to make changes on the fly. For those moving toward mass production, breadboarding is a critical step before transitioning to PCB fabrication, as described in resources like this comprehensive guide to semiconductor fabrication.
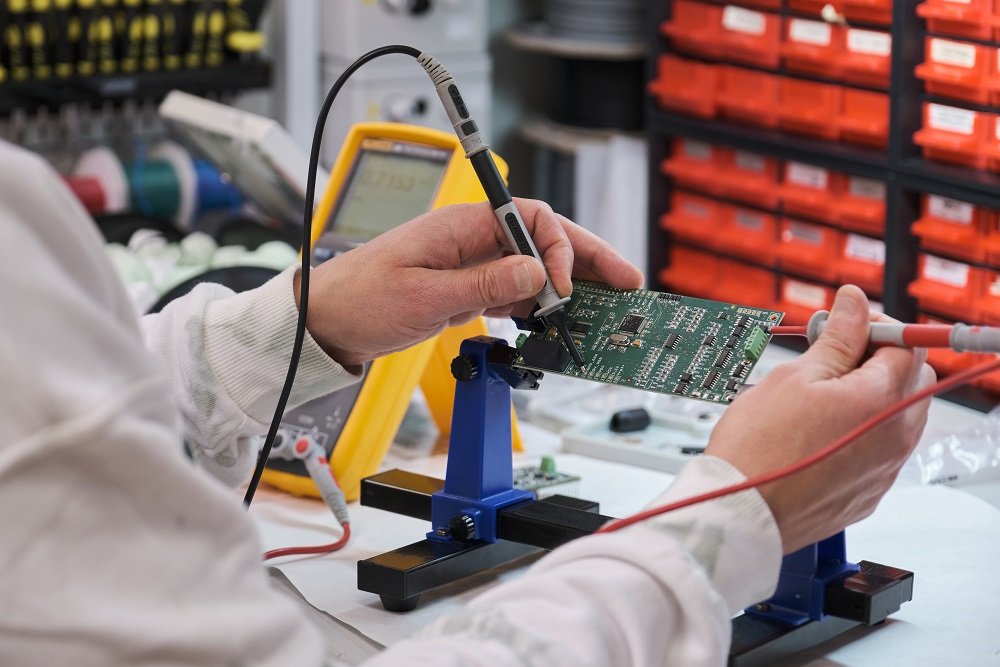
Essential Tools and Materials for Breadboard Assembly
Before you start putting together your prototype, gather the necessary tools and components. Having everything on hand will streamline the process and help prevent mistakes.
- Breadboard: Choose a size that fits your project. Standard sizes are suitable for most beginner and intermediate circuits.
- Jumper wires: These are used to connect different points on the breadboard. Pre-cut and pre-stripped wires are convenient, but you can also cut your own from solid-core wire.
- Electronic components: Resistors, capacitors, LEDs, transistors, integrated circuits (ICs), and other parts specific to your circuit design.
- Power supply: A battery pack or bench power supply that matches your circuit’s voltage and current requirements.
- Multimeter: For measuring voltage, current, and resistance during testing and troubleshooting.
- Datasheets and schematics: Reference materials for your components and circuit design.
Step-by-Step Guide to Assembling Your Breadboard Circuit
Follow these steps to build your prototype efficiently and accurately:
1. Review the Circuit Schematic
Begin by studying your circuit diagram. Identify each component, its value, and how it connects to others. If you are working from a pre-designed schematic, double-check the orientation and pinout of polarized components like diodes and electrolytic capacitors.
2. Plan the Layout
Sketch a rough layout of your circuit on paper or use breadboard planning software. Group related components together and minimize wire crossings to keep the build organized. Place the power rails (positive and ground) along the sides for easy access.
3. Insert Components into the Breadboard
Start with the largest components, such as ICs, and place them so that their pins straddle the central groove of the breadboard. Add resistors, capacitors, and other passive components next. Ensure each lead is fully inserted into the breadboard holes for a reliable connection.
4. Connect with Jumper Wires
Use jumper wires to make the necessary connections between components. Keep wires as short as possible to reduce clutter and potential signal interference. Color-coding wires (e.g., red for power, black for ground) can help prevent mistakes.
5. Power Up and Test
Before applying power, double-check all connections against your schematic. Once verified, connect your power source and use a multimeter to confirm voltage levels at key points. Test the circuit’s functionality step by step, starting with basic checks (such as LED illumination) and moving to more complex behaviors.

Troubleshooting and Refining Your Prototype
Even with careful planning, issues can arise during breadboard prototyping. Here are some common problems and solutions:
- Loose connections: Ensure all component leads and wires are firmly inserted. Re-seat any that feel loose.
- Incorrect wiring: Compare your breadboard to the schematic. Look for misplaced wires or swapped connections.
- Faulty components: Use a multimeter to test suspect parts. Replace any that are out of specification.
- Power issues: Verify that your power supply is delivering the correct voltage and current. Check for shorts or open circuits.
Iterate on your design as needed. Breadboards are meant for experimentation, so don’t hesitate to make changes and observe the results. Document any modifications for future reference or when moving to the next stage of development.
Best Practices for Breadboard Prototyping
To maximize the effectiveness of your breadboard projects, keep these tips in mind:
- Label your wires and components to avoid confusion, especially in complex circuits.
- Keep your workspace tidy to prevent accidental shorts or lost parts.
- Use datasheets for reference, particularly for ICs and transistors with multiple pins.
- Test incrementally by powering up and checking one section of the circuit at a time.
- Record your results and any issues encountered to streamline future projects.
For those working on products intended for international markets, it’s also wise to consider factors like electronic product design for global markets early in the prototyping phase.
From Breadboard to Final Product
Once your breadboard prototype is working reliably, you can transition to more permanent solutions. This might involve designing a custom PCB, selecting production-grade components, and preparing for manufacturing. At this stage, thorough documentation and performance testing become crucial. For more on this, see the electronic product design documentation workflow and electronic product design performance testing guide.
Remember, the breadboard stage is about learning, refining, and validating your ideas. Take advantage of the flexibility it offers to explore different configurations and optimize your design before investing in more costly production steps.
Frequently Asked Questions
What are the limitations of breadboard prototyping?
Breadboards are excellent for low-frequency, low-power circuits but are not suitable for high-speed or high-current designs. They can also introduce stray capacitance and resistance, which may affect sensitive analog or RF circuits.
How do I avoid common mistakes when assembling a breadboard circuit?
Double-check every connection against your schematic, use color-coded wires, and test each section of the circuit incrementally. Keeping your workspace organized and labeling components can also help prevent errors.
Can I use a breadboard for final products?
Breadboards are intended for prototyping and testing only. They are not reliable or durable enough for finished products, especially those exposed to vibration, movement, or environmental stress. For final assemblies, use soldered PCBs or other permanent solutions.