


Prototyping is an essential part of the product development process, especially when it comes to electronic devices. One of the key components in this process is the printed circuit board (PCB). In recent years, flexible PCBs have become increasingly popular due to their adaptability and versatility. This article will provide a comprehensive guide on how to simplify the prototyping process using flexible PCBs.
Before we delve into the specifics, it’s important to understand some electronic circuit design principles. These principles form the foundation for effective prototyping with flexible PCBs.
Understanding Flexible PCBs
Flexible PCBs, as the name suggests, are flexible and bendable, unlike their rigid counterparts. This flexibility makes them highly adaptable to a variety of applications, especially in devices where space and weight are critical considerations.
Advantages of Prototyping with Flexible PCBs
Flexible PCBs offer several advantages in the prototyping process. They can be shaped to fit the device, reducing the need for connectors and cables, which can simplify the overall design. Additionally, their light weight and small size can contribute to the portability and compactness of the final product.

Key Steps in Prototyping with Flexible PCBs
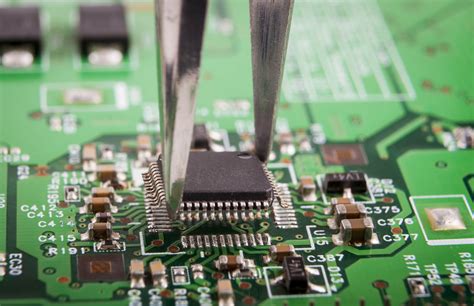
The process of prototyping with flexible PCBs involves several key steps, including design, fabrication, assembly, and testing. Each step requires careful consideration and planning to ensure the successful development of the prototype. For a more in-depth understanding of the process, you can refer to this descriptive guide on hardware prototyping.
In conclusion, prototyping with flexible PCBs can simplify the product development process, making it easier to design, build, and test new electronic devices. By understanding the principles and steps involved, you can effectively leverage the benefits of flexible PCBs in your next prototyping project.
Written by: Ethan Carter
Published on: 2025-11-18