

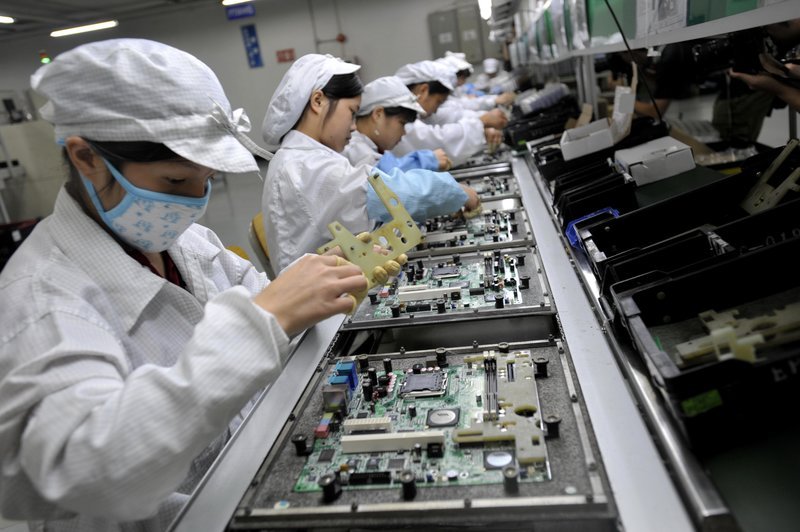
Proper maintenance of printed circuit boards (PCBs) is essential for ensuring the reliability and longevity of electronic devices. After soldering, residues such as flux, solder splashes, and dust can remain on the board, potentially leading to corrosion, electrical leakage, or even failure of the assembly. Understanding how to clean PCBs after soldering is a key step in electronics manufacturing and repair, whether you are working on prototypes or high-volume production.
This article provides a practical overview of cleaning techniques, materials, and best practices to help you achieve optimal results. For those interested in a broader perspective on PCB materials and their impact on product quality, the electronic product design PCB material selection guide is a valuable resource.
Why Cleaning Soldered PCBs Matters
After soldering, PCBs are often left with flux residues, solder balls, and other contaminants. These residues can attract moisture, dust, and other particles, which may cause corrosion or create conductive paths that result in short circuits. In high-frequency or sensitive analog circuits, even minor contamination can degrade performance. Cleaning is therefore not just about aesthetics—it is crucial for electrical integrity and long-term durability.
Common Contaminants Found After Soldering
The most frequent contaminants on a PCB after soldering include:
- Flux residues: Both rosin-based and water-soluble fluxes can leave sticky or corrosive films.
- Solder splashes and balls: Tiny droplets of solder that can cause shorts if not removed.
- Dust and debris: Particles that settle during or after the soldering process.
- Fingerprints and oils: Handling boards with bare hands can transfer oils and salts.
Essential Tools and Materials for PCB Cleaning
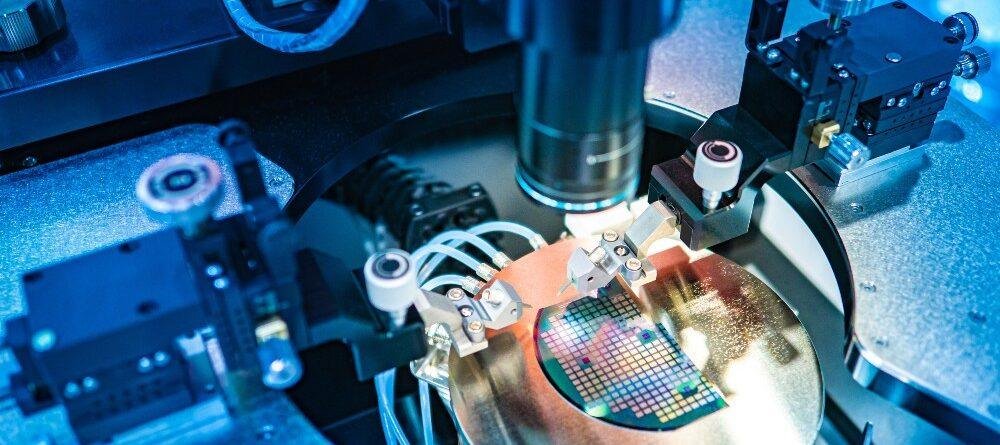
To effectively remove residues and contaminants, you will need the right tools and cleaning agents. Here are the most commonly used items:
- Isopropyl alcohol (IPA): A widely used solvent for dissolving flux and cleaning surfaces.
- Distilled water: Used for rinsing, especially with water-soluble fluxes.
- PCB cleaning brushes: Anti-static brushes help dislodge stubborn residues.
- Lint-free wipes or swabs: Prevent fibers from sticking to the board.
- Compressed air: Removes loose particles and speeds up drying.
- Ultrasonic cleaners: For thorough cleaning of complex assemblies.
Step-by-Step Guide: Cleaning PCBs After Soldering
The process for removing soldering residues depends on the type of flux used and the complexity of the assembly. Below is a general workflow suitable for most situations:
- Assess the board: Identify visible residues and sensitive components. Some parts may be moisture-sensitive or require special handling.
- Apply solvent: Moisten a lint-free wipe or swab with isopropyl alcohol. Gently dab or wipe the affected areas to dissolve flux and lift debris.
- Brush gently: Use an anti-static brush to scrub stubborn spots, working in small circles. Avoid excessive force to prevent damaging traces or pads.
- Rinse if needed: For water-soluble fluxes, rinse the board with distilled water. Avoid tap water, as it can leave mineral deposits.
- Dry thoroughly: Use compressed air to blow away moisture, or let the board air dry in a clean environment. Ensure no liquid remains under components.
- Inspect the board: Check for remaining residues, corrosion, or damage. Repeat cleaning if necessary.
Choosing the Right Cleaning Method for Your PCB
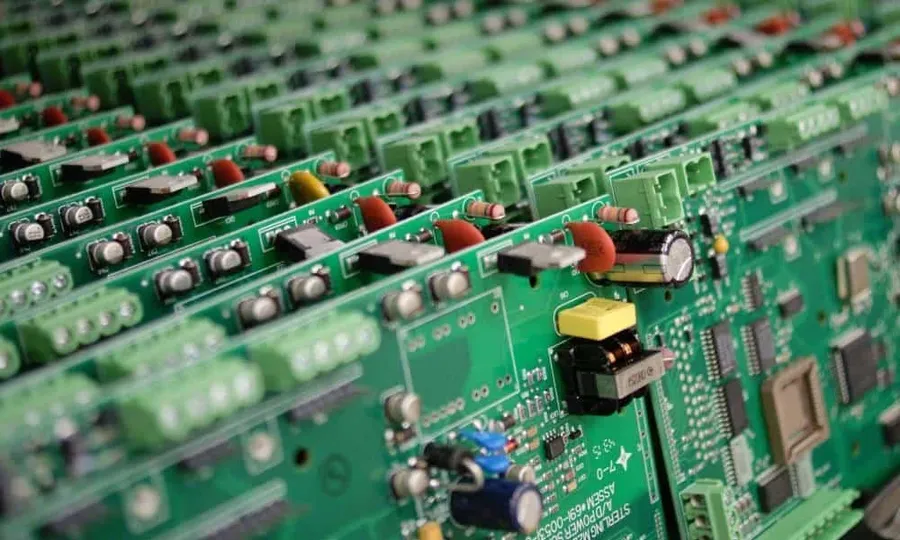
The optimal cleaning approach depends on the type of flux, board complexity, and production volume:
- No-clean fluxes: Designed to leave minimal residue, but may still require spot cleaning in critical areas.
- Water-soluble fluxes: Require thorough rinsing with deionized or distilled water to prevent corrosion.
- Rosin-based fluxes: Best removed with isopropyl alcohol or specialized PCB cleaners.
- Ultrasonic cleaning: Suitable for dense or complex assemblies, but verify component compatibility before use.
For more advanced cleaning and testing techniques, you may find the electronic component testing standard and advanced techniques article helpful, especially when dealing with high-reliability or mission-critical electronics.
Best Practices for Maintaining Clean PCBs
Consistent cleaning routines and preventive measures can help maintain the quality and performance of your assemblies:
- Handle boards with gloves or finger cots to minimize contamination.
- Store cleaned PCBs in anti-static bags or clean containers.
- Inspect boards under magnification to catch hidden residues.
- Use only recommended solvents and avoid aggressive chemicals that may damage components or solder joints.
- Document your cleaning process for quality assurance and traceability.
Integrating these habits into your workflow not only improves reliability but also streamlines troubleshooting and repair.
Frequently Asked Questions
What happens if flux is not removed from a PCB?
Leaving flux residues on a PCB can lead to corrosion, dendritic growth, and electrical leakage. Over time, this may cause circuit failure or degrade signal integrity, especially in high-frequency or sensitive applications.
Can I use household cleaners to clean soldered PCBs?
It is not recommended to use household cleaners, as they may contain water, surfactants, or chemicals that can damage components or leave conductive residues. Always use isopropyl alcohol (preferably 99%) or specialized PCB cleaning solutions.
Is ultrasonic cleaning safe for all types of PCBs?
Ultrasonic cleaning is effective for removing residues from complex assemblies, but not all components are compatible with this process. Sensitive parts like MEMS microphones, oscillators, or certain connectors may be damaged. Always check manufacturer guidelines before using ultrasonic methods.
How often should I clean my PCB assemblies?
Cleaning should be performed after each soldering operation, especially when using fluxes that leave significant residues. For maintenance or repair, clean as needed based on visual inspection and performance testing.
