

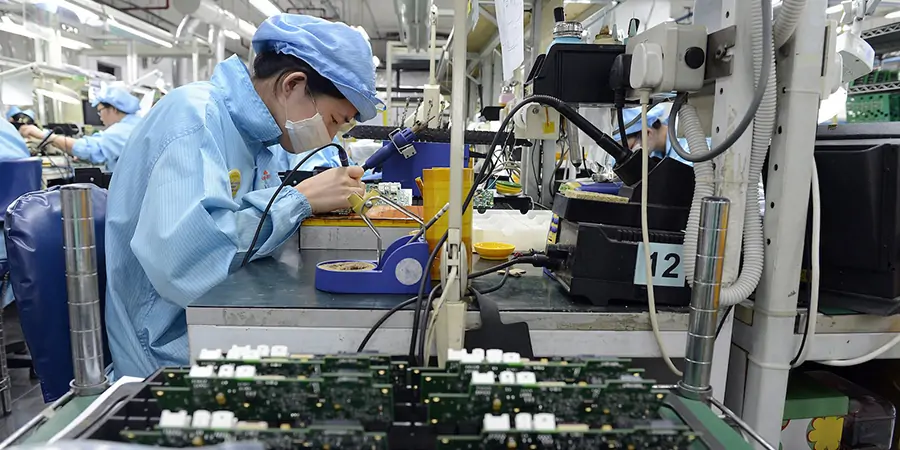
Removing electronic parts from a printed circuit board (PCB) is a fundamental skill for anyone working with electronics, whether you are repairing, upgrading, or salvaging parts. Understanding how to desolder components safely and efficiently helps prevent damage to both the board and the components themselves. This guide covers the essential tools, step-by-step instructions, and practical tips for successful desoldering.
For those interested in broader hardware development topics, the electronic product design performance testing guide is a valuable resource to complement your knowledge of assembly and repair processes.
Why Learn to Remove Soldered Parts?
The ability to detach components from a PCB is crucial for troubleshooting, upgrading, or recycling electronics. Whether you are replacing a faulty resistor, salvaging a rare integrated circuit, or correcting assembly errors, knowing how to desolder components can save time and money. Additionally, mastering this skill helps reduce electronic waste by enabling the reuse of valuable parts.
Essential Tools for Desoldering
Before starting, gather the right equipment. The following tools are commonly used for removing soldered parts:
- Soldering iron: A temperature-controlled iron is ideal for precision and safety.
- Solder sucker (desoldering pump): A spring-loaded vacuum tool for removing molten solder.
- Desoldering braid (wick): Copper braid that absorbs melted solder when heated.
- Tweezers: For gripping and lifting components safely.
- Flux: Helps solder flow and prevents oxidation, making removal easier.
- Isopropyl alcohol and brush: For cleaning the board after desoldering.

Step-by-Step Guide: How to Desolder Components from a PCB
Removing parts from a circuit board requires patience and attention to detail. Here’s a practical approach:
1. Prepare Your Workspace
Work in a well-ventilated area and use an anti-static mat if possible. Secure the PCB to prevent movement during the process.
2. Heat the Solder Joint
Place the tip of the soldering iron on the solder joint you want to remove. Allow the solder to melt completely before proceeding.
3. Remove Solder Using a Solder Sucker
Once the solder is molten, quickly position the tip of the solder sucker over the joint and press the release button. This action vacuums up the liquid solder, freeing the component lead.
4. Use Desoldering Braid for Stubborn Solder
If any solder remains, place the desoldering braid over the joint and press the heated iron on top. The braid will wick up the excess solder. Remove the braid and iron together to avoid sticking.
5. Extract the Component
Gently wiggle the component with tweezers and lift it from the board. If it resists, check for remaining solder and repeat the removal steps as needed.
6. Clean the Area
After removing the part, clean the pad with isopropyl alcohol and a brush to remove flux residue and ensure a clean surface for future soldering.
Tips for Safe and Effective Desoldering
- Use the correct temperature: Too much heat can damage the PCB, while too little may not melt the solder efficiently.
- Be patient: Rushing can lift pads or break traces. Allow the solder to melt fully before using the pump or braid.
- Apply fresh solder if needed: Sometimes adding a small amount of new solder helps old solder melt more easily, especially with lead-free types.
- Protect sensitive components: Some parts are heat-sensitive. Work quickly and avoid prolonged heating.
- Practice on scrap boards: If you’re new to these techniques, practice on unused or broken boards before working on valuable equipment.
Common Challenges When Removing Soldered Parts
Even experienced technicians encounter obstacles. Here are some frequent issues and solutions:
- Stubborn solder: Use flux and desoldering braid to help remove difficult joints.
- Lifting pads: Avoid excessive force and heat. If a pad lifts, repair with a wire jumper if necessary.
- Component damage: Use tweezers carefully and avoid bending leads excessively.
- Multi-pin components: For ICs or connectors, alternate between pins and remove a little solder at a time to prevent overheating.
Desoldering Techniques for Different Component Types
The approach varies depending on the part being removed:
- Through-hole components: These are generally easier to remove with a solder sucker or braid.
- Surface-mount devices (SMD): Use tweezers and a fine-tipped iron. For multi-lead SMDs, hot air rework stations can be helpful.
- Large connectors or headers: Remove solder from each pin gradually, and gently rock the connector free.
Maintaining PCB Integrity During Desoldering
Preserving the board’s condition is just as important as removing the part. Avoid excessive heat, minimize mechanical stress, and clean thoroughly after the process. This ensures the board remains functional for future repairs or modifications.
Further Resources and Industry Insights
For a comprehensive overview of assembly and repair in electronics, explore the complete process of electronic manufacturing services. This resource provides valuable context for anyone interested in the full lifecycle of electronic products, from assembly to maintenance.
FAQ: Desoldering Electronic Components
What is the safest way to desolder components without damaging the PCB?
The safest method is to use a temperature-controlled soldering iron, apply flux to the joint, and remove solder with a pump or braid. Avoid excessive heat and force. Always clean the area after removal to prevent residue buildup.
Can I reuse components after desoldering?
Yes, many parts can be reused if removed carefully. Inspect for bent leads or heat damage before reinstalling. Clean the leads and pads to ensure good electrical contact during reassembly.
What should I do if a pad lifts off the PCB?
If a pad detaches, stop and assess the damage. You may be able to repair the connection with a thin wire jumper. Avoid using the board for critical applications if multiple pads are damaged.