

Understanding soldering techniques is essential for anyone involved in electronics assembly, repair, or prototyping. Whether you’re a hobbyist working on your first circuit or a professional in electronics manufacturing, mastering the right methods ensures reliable connections and long-lasting devices. This guide breaks down the most important approaches, tools, and best practices, helping you achieve strong, clean solder joints every time.
If you’re new to the world of electronics, you may also find it helpful to review an intro to PCB fabrication to understand how soldering fits into the broader process of building electronic devices.
Why Proper Soldering Matters in Electronics
Soldering is more than just melting metal to connect components. The quality of your solder joints directly affects the performance, durability, and safety of electronic assemblies. Poor soldering can lead to weak connections, signal loss, or even complete device failure. By learning the correct soldering techniques, you can minimize these risks and ensure your projects function as intended.
Essential Tools and Materials for Soldering
Before diving into specific methods, it’s important to gather the right tools and materials. Here’s what you’ll need for most electronics work:
- Soldering iron: Choose one with adjustable temperature for better control.
- Solder: Lead-free solder is common for modern electronics, but leaded solder is still used in some applications. Look for rosin-core solder for easier flow.
- Soldering iron stand: Keeps your workspace safe and organized.
- Tip cleaner or wet sponge: Essential for maintaining a clean iron tip.
- Desoldering pump or braid: For correcting mistakes and removing excess solder.
- Tweezers and cutters: For precise placement and trimming of components.
- Flux: Helps solder flow smoothly and improves joint quality.
Hand Soldering: Step-by-Step Methods
Hand soldering is the most common approach for assembling and repairing electronic circuits. Here’s a breakdown of the process and some key tips for success:
- Preparation: Start by cleaning the surfaces to be joined. Oxidation or dirt can prevent solder from bonding properly. Use isopropyl alcohol or a dedicated PCB cleaner.
- Tinning the tip: Heat your soldering iron and apply a small amount of solder to the tip. This helps with heat transfer and prevents oxidation.
- Heating the joint: Place the iron tip so it touches both the pad and the component lead. Heat them for a second or two before introducing solder.
- Applying solder: Feed solder into the joint, not directly onto the iron. The heat from the pad and lead should melt the solder, allowing it to flow and form a shiny, concave fillet.
- Cooling: Remove the iron and let the joint cool naturally. Avoid moving the components while the solder is solidifying to prevent cold joints.
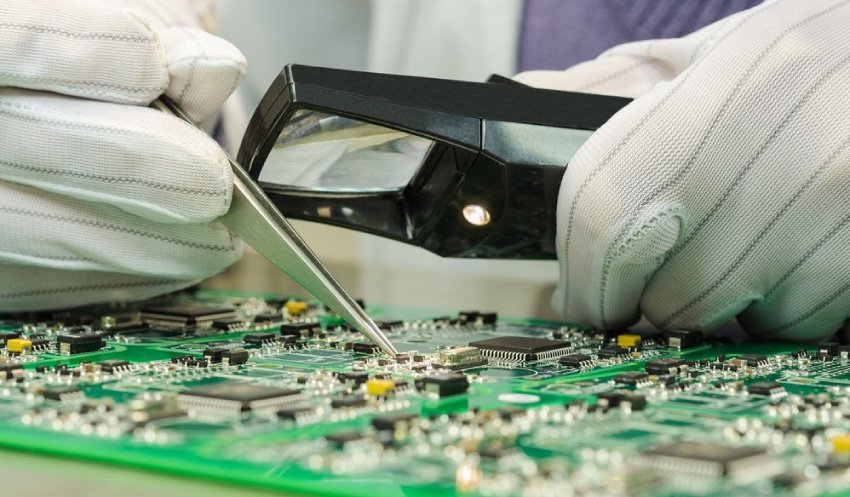
- Inspection: Check for a smooth, shiny finish. Dull or cracked joints may need to be reworked.
For more foundational knowledge, consider reading about electronics fabrication basics to see how soldering fits into the overall assembly process.
Surface Mount Soldering Techniques Explained
As electronics have become more compact, surface mount technology (SMT) has largely replaced through-hole components in many applications. SMT requires different approaches and greater precision:
- Tack soldering: Secure one end of a component with a small amount of solder, then align and solder the remaining leads.
- Drag soldering: Useful for fine-pitch ICs. After applying flux, drag the iron tip with a bead of solder across the pins, letting surface tension pull the solder onto the leads.
- Hot air rework: For removing or replacing SMT parts, a hot air station can heat the solder evenly, allowing components to be lifted off or repositioned.
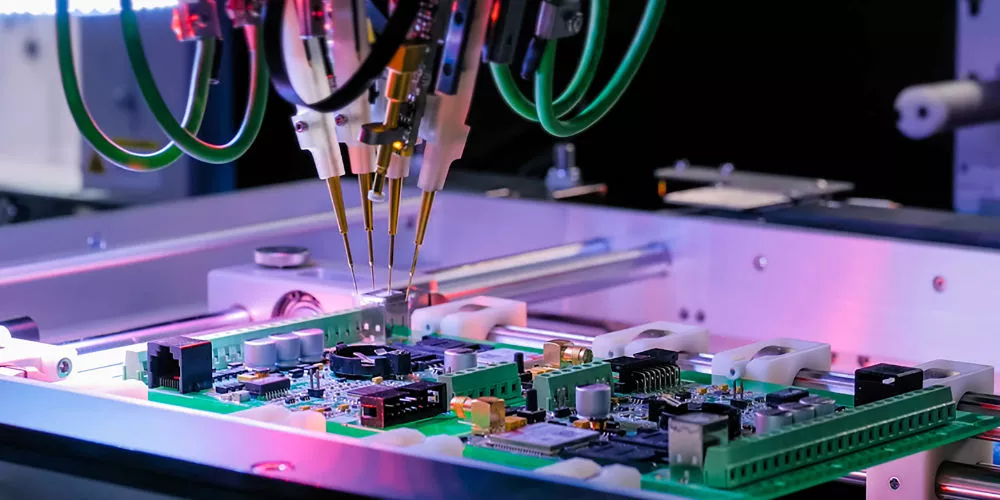
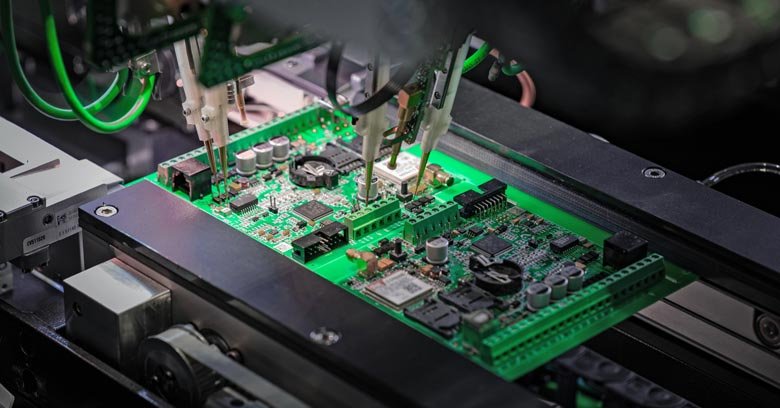
- Reflow soldering: In mass production, solder paste is applied and components are placed, then the board is heated in an oven to melt the solder paste and form joints simultaneously.
Common Soldering Problems and How to Avoid Them
Even experienced technicians encounter issues from time to time. Here are some frequent problems and their solutions:
- Cold joints: Caused by insufficient heat or movement during cooling. Always heat both surfaces thoroughly and let the joint cool undisturbed.
- Bridging: Excess solder can connect adjacent pads, especially on fine-pitch components. Use less solder and consider using solder wick to remove bridges.
- Insufficient wetting: If solder beads up instead of flowing, the surfaces may be dirty or oxidized. Clean thoroughly and use flux.
- Overheating: Prolonged heat can damage pads or components. Work quickly and use the correct temperature setting.
For a broader look at how these assembly steps fit into the bigger picture, explore how electronics are manufactured for a step-by-step overview.
Advanced Soldering Methods for Electronics Professionals
Beyond basic hand and surface mount soldering, professionals may use additional methods to improve efficiency and quality:
- Wave soldering: Used for through-hole components in mass production. The PCB passes over a wave of molten solder, which attaches components in one pass.
- Selective soldering: Targets specific areas of a board, useful when only certain components need through-hole soldering on a mostly SMT board.
- Laser soldering: Provides precise, localized heating for sensitive or densely packed assemblies.
If you’re interested in the broader context of electronics manufacturing, this overview of the electronics manufacturing process offers detailed insights into industry practices.
Best Practices for Safe and Effective Soldering
To ensure both safety and quality, keep these best practices in mind:
- Work in a well-ventilated area to avoid inhaling fumes.
- Wear safety glasses to protect your eyes from splashes.
- Keep your soldering iron in its stand when not in use.
- Clean the iron tip regularly for consistent heat transfer.
- Double-check polarity and orientation before soldering components.
- Store solder and flux in sealed containers to prevent contamination.
Staying updated on hardware design trends and innovations can also help you choose the most suitable soldering methods for new technologies.
Frequently Asked Questions
What is the difference between leaded and lead-free solder?
Leaded solder, typically made of 60% tin and 40% lead, melts at a lower temperature and is easier to work with, producing shiny joints. Lead-free solder, often made from tin, silver, and copper, is now standard due to health and environmental regulations. It requires higher temperatures and can be slightly harder to use but is safer for both users and the environment.
How do I fix a solder bridge between two pads?
To remove a solder bridge, use a desoldering braid or pump. Place the braid over the bridge and heat it with the soldering iron; the excess solder will wick into the braid. Alternatively, a solder sucker can be used to quickly remove the molten solder.
Why does my solder not stick to the pad or component?
This usually happens due to oxidation or contamination. Clean the surfaces with isopropyl alcohol, apply fresh flux, and ensure your soldering iron tip is clean and properly tinned. Also, make sure the pad and lead are heated sufficiently before applying solder.
Mastering soldering techniques is a valuable skill for anyone working with electronics. With the right tools, preparation, and attention to detail, you can achieve reliable, professional-quality results in your projects.