

Understanding how to diagnose and resolve issues in electronic devices is a valuable skill for anyone working with modern technology. Whether you’re a hobbyist, technician, or engineer, mastering electronics troubleshooting basics can save time, reduce costs, and prevent unnecessary component replacements. This guide covers the essential steps, tools, and best practices for identifying and fixing common electronic problems, helping you approach repairs with confidence and efficiency.
Before diving into specific techniques, it’s important to recognize that effective troubleshooting requires a systematic approach. By learning to observe symptoms, isolate faults, and apply logical reasoning, you can address a wide range of issues in consumer electronics, industrial equipment, and everything in between.
For those interested in how electronic products are put together, learning about electronic assembly best practices can provide valuable context before tackling troubleshooting tasks.
Why a Systematic Approach Matters in Device Diagnostics
Jumping straight into repairs without a plan can lead to wasted effort and even further damage. A methodical process is the foundation of successful electronics troubleshooting. The goal is to identify the root cause of a malfunction, not just treat the symptoms.
- Efficiency: Systematic steps help avoid unnecessary part replacements.
- Accuracy: Logical reasoning reduces guesswork and misdiagnosis.
- Safety: Structured methods minimize risks to both the technician and the device.
By following a clear workflow, you can document findings, repeat tests if needed, and communicate results more effectively—especially important in professional environments.
Essential Tools for Basic Electronic Repairs
Having the right equipment is crucial for accurate fault finding. Here are some of the most commonly used tools in electronics troubleshooting basics:
- Multimeter: Measures voltage, current, and resistance; indispensable for most diagnostics.
- Soldering Iron: Used for repairing or replacing faulty components.
- Oscilloscope: Visualizes electronic signals, helpful for complex circuit analysis.
- Logic Probe: Tests digital circuits for logic levels.
- ESD Wrist Strap: Protects sensitive components from electrostatic discharge.
- Hand Tools: Screwdrivers, tweezers, wire cutters, and pliers for assembly and disassembly.
Investing in quality tools not only improves accuracy but also ensures safety and reliability during the repair process.
Step-by-Step Guide to Identifying Common Electronic Faults
The process of diagnosing electronic malfunctions can be broken down into several key steps. By following these, you can systematically narrow down the source of a problem:
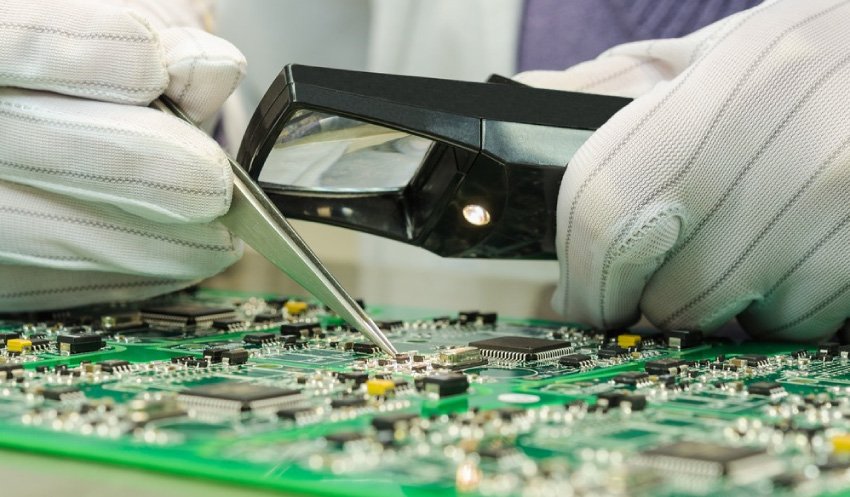
- Visual Inspection: Begin by carefully examining the device for obvious signs of damage such as burnt components, loose wires, or corrosion. Many issues can be spotted at this stage.
- Check Power Supply: Ensure the device is receiving the correct voltage and current. Power-related issues are among the most common causes of failure.
- Test Components: Use a multimeter to check resistors, capacitors, diodes, and transistors for continuity and correct values. Replace any components that are out of specification.
- Signal Tracing: For more complex circuits, follow the signal path using an oscilloscope or logic probe to find where the signal is lost or distorted.
- Consult Documentation: Refer to circuit diagrams, datasheets, and service manuals for guidance on expected values and troubleshooting tips.
- Replace or Repair: Once the faulty part is identified, replace it with a new component or repair the connection as needed.
- Test the Device: After repairs, power up the device and verify that it functions correctly. Repeat tests if necessary to confirm the issue is resolved.
Documenting each step can help track progress and avoid repeating tests, especially when working on complex systems.
Best Practices for Safe and Effective Troubleshooting
Safety should always be a top priority when working with electronic devices. Here are some important guidelines to follow:
- Always disconnect power before opening or handling electronic equipment.
- Use insulated tools and wear an ESD wrist strap to protect sensitive components.
- Work in a well-lit, organized area to prevent accidental damage or loss of small parts.
- Label wires and connectors during disassembly for easier reassembly.
- Keep a fire extinguisher nearby when working with high-voltage circuits.
Following these precautions not only protects you but also increases the likelihood of a successful repair.
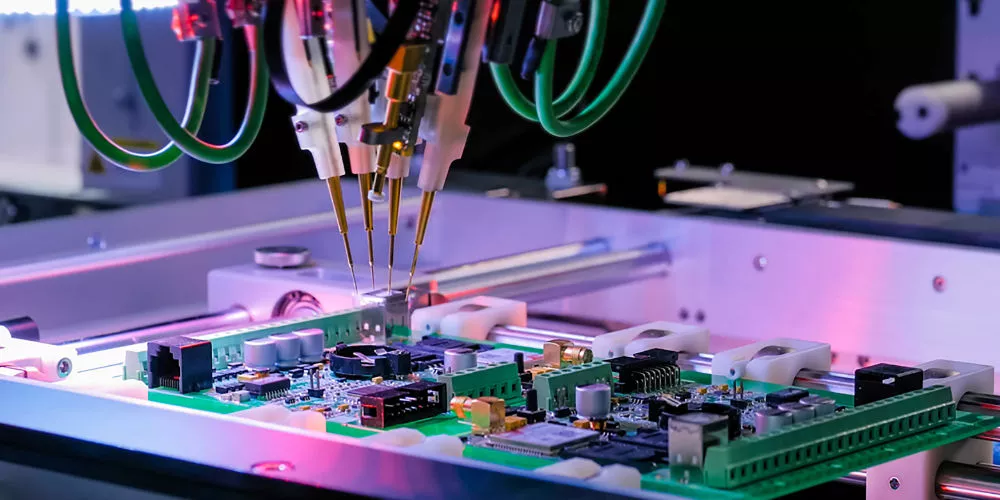
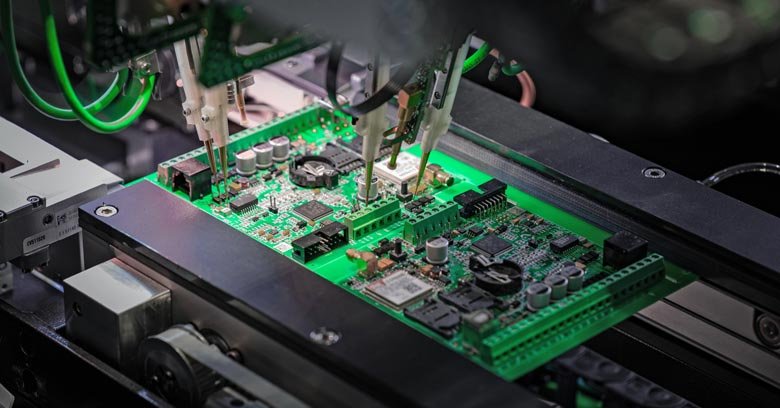
Understanding Circuit Board Layouts and Packaging
Familiarity with circuit board design and packaging types can make fault finding much more efficient. Different layouts, such as single-sided, double-sided, or multi-layer boards, affect how components are arranged and accessed. Knowing about electronics packaging types helps in identifying where faults are likely to occur and how to approach repairs without damaging the board.
Additionally, understanding the electronics fabrication workflow provides insight into how devices are assembled, which can inform your troubleshooting strategy.
Quality Control and Manufacturing Considerations
Many issues encountered during diagnostics originate from manufacturing defects or quality lapses. Learning about electronics quality control explained can help you distinguish between user-induced failures and those stemming from production errors.
For a deeper look at how electronics are built and tested, the electronics manufacturing process overview offers a comprehensive explanation of each stage, from component sourcing to final inspection.
Frequently Asked Questions
What are the most common causes of electronic device failure?
The most frequent reasons include power supply issues, component aging, overheating, moisture damage, and manufacturing defects. Regular maintenance and proper handling can reduce the likelihood of these problems.
How can I tell if a component is faulty without removing it?
Using a multimeter, you can often test components in-circuit for continuity, resistance, or voltage drops. However, some readings may be affected by surrounding components, so consult the device’s schematic for guidance.
Is it safe to repair electronics at home?
Basic repairs can be performed safely at home if you follow standard precautions: disconnect power, use insulated tools, and avoid working on high-voltage circuits unless you are properly trained. For complex or high-risk repairs, professional assistance is recommended.