

Developing new electronic products requires a structured approach to move from concept to a working prototype. Understanding the electronics prototyping workflow helps engineers, designers, and businesses streamline development, reduce errors, and bring ideas to life efficiently. This guide breaks down each stage, offering practical insights and highlighting best practices for anyone looking to navigate the process of building and testing electronic prototypes.
Whether you are a hobbyist, a startup founder, or part of an established engineering team, mastering the steps of prototype development is essential. From initial design to final testing, each phase plays a critical role in ensuring your device functions as intended and is ready for further manufacturing or market launch.

Early in the prototyping journey, it’s also important to consider related aspects such as thermal management in electronics, which can impact both design and performance.
Key Stages in the Electronics Prototype Development Process
The journey from idea to a functional prototype involves several distinct stages. Each step in the electronics prototyping workflow builds on the previous one, ensuring that the final product is both functional and manufacturable.
- Requirement Analysis and Conceptualization: Begin by clearly defining what the device should do. Gather requirements, create a list of features, and outline the intended use cases. This phase sets the foundation for all subsequent work.
- System and Circuit Design: Translate requirements into a block diagram and then into detailed circuit schematics. Choose components based on performance, availability, and cost. At this stage, following circuit design rules explained can help avoid common pitfalls.
- Simulation and Validation: Use simulation tools to test the circuit virtually. This helps identify design flaws before any physical components are purchased or assembled.
- PCB Layout and Design: Convert the schematic into a printed circuit board (PCB) layout. Consider factors such as signal integrity, power distribution, and component placement for optimal performance.
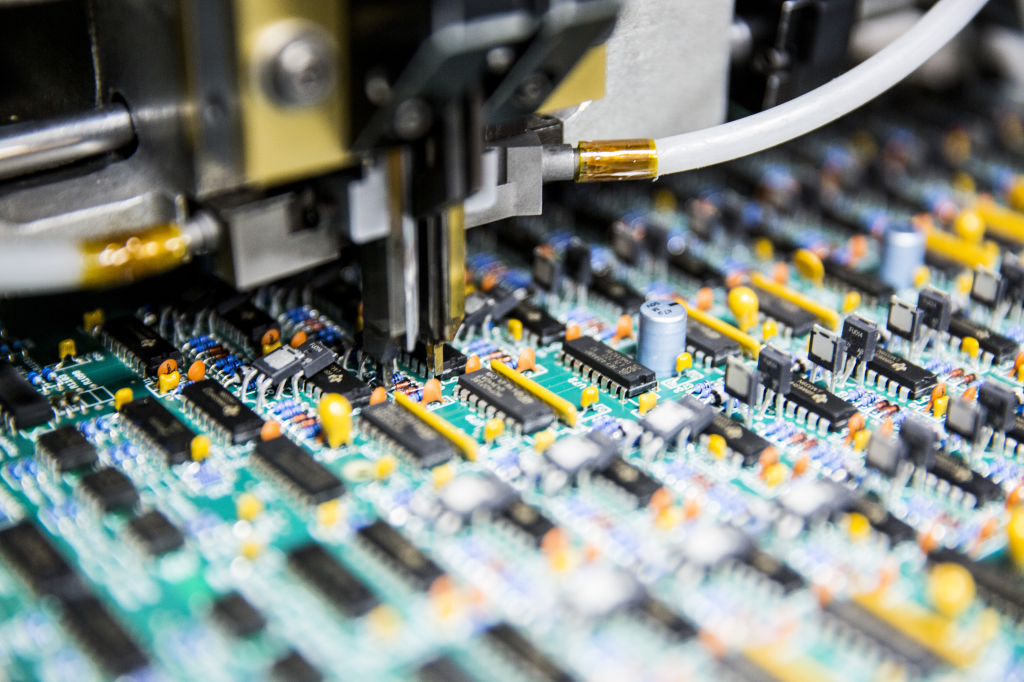
- Prototype Fabrication: Manufacture the PCB and gather all necessary components. This step may involve working with external vendors or using in-house equipment.
- Assembly and Soldering: Place and solder components onto the PCB. This can be done manually for simple designs or with automated equipment for more complex boards.
- Testing and Debugging: Power up the prototype and perform initial tests. Use tools such as multimeters and oscilloscopes to verify circuit functionality. For more details, see this guide on how to use a multimeter for electronics testing.
- Iteration and Refinement: Based on test results, make necessary adjustments to the design. This may involve updating schematics, changing components, or revising the PCB layout.
Design Considerations for Efficient Prototyping
A successful electronics prototyping workflow depends on thoughtful planning and attention to detail. Here are some key considerations to keep in mind:
- Component Selection: Choose parts that are readily available and have good documentation. Avoid obsolete or hard-to-source components, as they can delay the project.
- Design for Testability: Include test points and headers in your PCB design to make debugging easier. This can save significant time during the testing phase.
- Thermal and Power Management: Ensure your design can handle heat dissipation and power requirements. Overlooking these factors can lead to failures during testing or operation.
- Documentation: Keep thorough records of design decisions, component datasheets, and test results. Good documentation streamlines troubleshooting and future revisions.
- Compliance and Safety: Consider regulatory requirements and safety standards relevant to your application, especially if you plan to move beyond prototyping to mass production.
Common Challenges in Prototype Development
Even with a well-structured electronics prototyping workflow, challenges can arise. Recognizing and preparing for these issues can help you avoid costly delays.
- Component Lead Times: Supply chain issues can delay delivery of key parts. Plan ahead and consider alternatives where possible.
- Design Errors: Mistakes in schematics or PCB layout can lead to non-functional prototypes. Peer reviews and simulation tools help catch errors early.
- Manufacturing Defects: Issues such as solder bridges or misaligned components can occur during assembly. Visual inspection and functional testing are crucial steps.
- Thermal Issues: Inadequate heat management can cause components to overheat and fail. For more on this topic, see thermal management in electronics.
- Debugging Complexity: Troubleshooting complex circuits can be time-consuming. Use systematic approaches and tools like continuity testers, as described in circuit continuity testing.
Best Practices for a Smooth Prototyping Experience
Following industry best practices can help you optimize your electronics prototyping workflow and avoid common setbacks:
- Start Simple: Build a minimal viable prototype first. Focus on core functionality before adding extra features.
- Iterate Rapidly: Use quick feedback loops. Test early and often, making incremental improvements with each cycle.
- Leverage Simulation: Simulate circuits before building physical prototypes to catch errors and optimize designs.
- Collaborate: Involve team members from different disciplines—hardware, software, and manufacturing—to catch issues from multiple perspectives.
- Stay Organized: Use version control for design files and maintain clear documentation throughout the project.
For a comprehensive overview of the broader process, including manufacturing considerations, refer to this ultimate guide to electronics manufacturing.
Transitioning from Prototype to Production
Once your prototype meets all functional requirements, the next step is preparing for mass production. This transition requires additional steps:
- Design for Manufacturability (DFM): Adjust your design to simplify assembly and reduce costs at scale.
- Testing and Certification: Ensure your product meets industry standards and passes required certifications.
- Supply Chain Planning: Secure reliable sources for all components and materials.
- Quality Assurance: Develop robust testing procedures to maintain consistency across production batches.
- Documentation and Support: Prepare user manuals, service guides, and support resources for end users.
Addressing electronics fabrication challenges early in the process can help ensure a smoother transition from prototype to final product.
Frequently Asked Questions
What tools are essential for electronics prototyping?
Essential tools include schematic capture and PCB design software, simulation tools, soldering equipment, multimeters, oscilloscopes, and power supplies. Access to a well-equipped lab can significantly speed up development and troubleshooting.
How many iterations are typical before a prototype is finalized?
The number of iterations varies by project complexity, but most designs require at least two to three cycles of testing and refinement. Rapid prototyping techniques and thorough simulation can help reduce the number of physical revisions needed.
What are common mistakes to avoid in the prototyping workflow?
Common mistakes include inadequate documentation, poor component selection, ignoring thermal and power requirements, and skipping simulation steps. Rushing through testing or failing to plan for manufacturability can also lead to costly delays.