

Creating a successful electronic device starts long before mass production. The electronic prototyping process guide is essential for engineers, startups, and businesses aiming to turn ideas into functional products. This article walks through each phase, from initial concept to a working prototype, highlighting best practices and common pitfalls. Whether you’re a designer, entrepreneur, or simply curious about how modern electronics come to life, understanding these steps will help you navigate development with confidence.
For a deeper dive into design strategies, you may find the electronic product design methodology resource useful as you plan your project.
Understanding the Electronic Prototyping Workflow
The journey from concept to prototype involves several distinct phases. Each step in the electronic prototyping process guide builds on the previous one, ensuring the final product is functional, manufacturable, and meets user needs. Let’s explore the core stages that make up this workflow.
1. Defining Requirements and Specifications
Every successful project begins with clear objectives. This phase involves gathering all technical and functional requirements. Consider what the device must do, its operating environment, power needs, size constraints, and user interface preferences. Documenting these details helps prevent costly changes later.
- Identify the core functions and features.
- Set performance benchmarks (speed, accuracy, power consumption).
- Determine regulatory and safety requirements.
- Establish a budget and timeline for development.
2. Schematic Design and Component Selection
With requirements in hand, engineers move to circuit design. This involves creating a schematic diagram that maps out how components connect and interact. Choosing the right parts—microcontrollers, sensors, power supplies, and connectors—is critical for performance and cost.
During this stage, referencing resources like electronics design best practices can help ensure robust and reliable circuits.
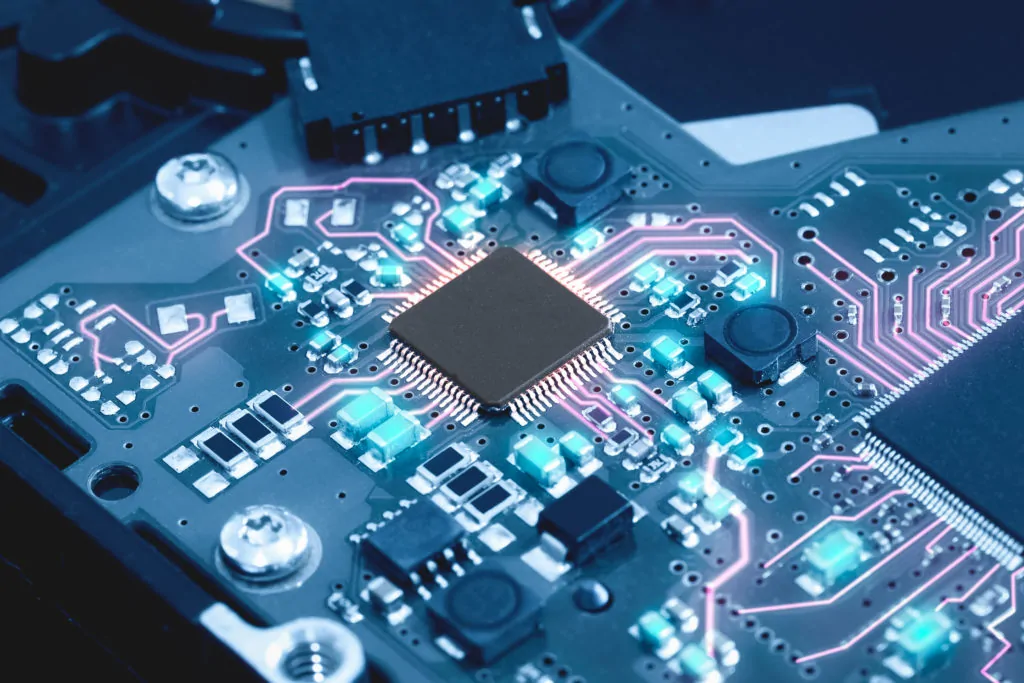
3. PCB Layout and Design
Once the schematic is finalized, the next step is to design the printed circuit board (PCB). This process translates the schematic into a physical layout, determining where each component will sit and how traces will connect them. Good PCB design minimizes noise, reduces interference, and ensures manufacturability.
- Optimize component placement for signal integrity.
- Follow design rules for trace width, spacing, and layer stack-up.
- Plan for thermal management and mechanical constraints.
Building and Testing the Prototype
With the PCB design complete, the focus shifts to bringing the concept to life. This phase is where the electronic prototyping process guide becomes hands-on, involving assembly and rigorous testing.
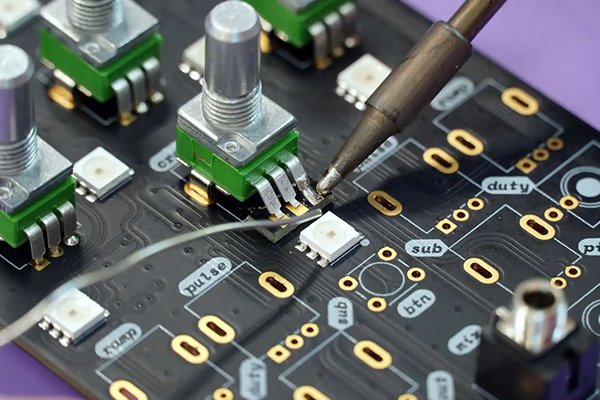
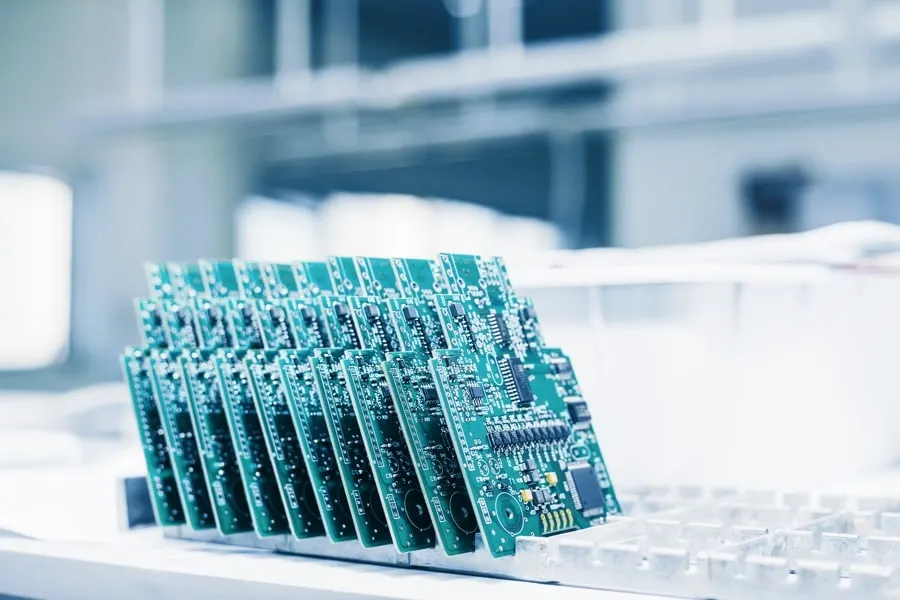
4. PCB Fabrication and Assembly
The PCB design files are sent to a manufacturer for fabrication. Once the boards are produced, components are soldered onto the PCB by hand or with automated machines. It’s important to inspect the assembled boards for defects such as solder bridges, misaligned parts, or missing components.
5. Firmware and Software Development
Most modern electronics require embedded software or firmware. This code controls the device’s operation, interfaces with sensors, and manages communication. Early software development can begin on simulators or development boards, but final testing occurs on the actual prototype hardware.
- Develop and debug firmware in parallel with hardware assembly.
- Test communication protocols and user interfaces.
- Iterate quickly to resolve bugs and optimize performance.
6. Functional Testing and Validation
After assembly and programming, the prototype undergoes thorough testing. This includes verifying all features, measuring performance against specifications, and checking for reliability under different conditions. Testing often reveals issues that require design tweaks or component changes.
For more insights on refining your prototype and preparing for production, consider reading about electronic product design process steps.
Iterating and Preparing for Production
Rarely does the first prototype meet every expectation. The electronic prototyping process guide emphasizes iteration—making improvements based on test results, user feedback, and manufacturability considerations.
7. Design Revisions and Optimization
Based on test data, engineers may need to adjust the circuit, change components, or modify the PCB layout. These changes are implemented, and a new prototype is built and tested. This cycle continues until the product meets all requirements.
- Address issues like signal noise, overheating, or unexpected behavior.
- Optimize for cost, size, and ease of assembly.
- Document all changes for future reference and compliance.
8. Preparing for Manufacturing
Once the prototype is finalized, the focus shifts to scaling up. This involves creating detailed documentation, sourcing reliable suppliers, and planning for quality control. Design for manufacturability (DFM) reviews help ensure the product can be produced efficiently and at scale.
If you’re considering professional support, exploring electronic product design services explained can clarify how experts can streamline this transition.
Common Challenges in Electronic Prototyping
Even with a solid process, teams often face obstacles. Some common issues include:
- Component shortages or long lead times.
- Unexpected electromagnetic interference (EMI).
- Firmware bugs that are hard to trace.
- Mechanical fit issues with enclosures.
- Cost overruns due to design changes.
Proactive planning, clear documentation, and frequent testing help mitigate these risks. Leveraging the electronic prototyping process guide can streamline troubleshooting and keep projects on track.
FAQ: Electronic Prototyping Essentials
What is the main purpose of building a prototype in electronics?
The primary goal is to validate the design’s functionality, identify and fix issues early, and ensure the product meets user and technical requirements before committing to mass production.
How many iterations are typical in the prototyping process?
Most projects require multiple cycles of building, testing, and refining. The number of iterations depends on complexity, but two to four rounds are common before a design is ready for manufacturing.
Can I skip the prototyping phase if my design is simple?
Skipping prototyping is risky, even for straightforward designs. Prototyping uncovers hidden issues, ensures compatibility, and can save significant time and cost by preventing problems during production.
Conclusion
Navigating the journey from concept to working device requires a structured approach. By following a proven electronic prototyping process guide, teams can reduce risks, control costs, and deliver reliable products. Whether you’re new to electronics or refining your workflow, understanding each step—from requirements gathering to final revisions—will set your project up for success.
For more information on maximizing value and efficiency, see the benefits of electronic product design services.