


Printed circuit boards are the foundation of modern electronics, connecting and supporting components in everything from smartphones to industrial machines. For those new to electronics, learning the essentials of PCB design for beginners is a practical step toward building functional and reliable circuits. This guide walks through the key concepts, tools, and steps involved in creating your first PCB, helping you avoid common mistakes and set a strong foundation for future projects.
Understanding how to plan, lay out, and prepare a board for manufacturing can seem daunting at first. However, with the right approach and resources, even those with little prior experience can produce effective designs. Before diving into the step-by-step process, it’s helpful to become familiar with some basic terminology and the typical workflow involved in PCB creation.
As you get started, it’s also valuable to explore related topics such as what are test points and how they fit into the overall design and testing process. These concepts will help you create more robust and easily testable boards.
Understanding the Basics of PCB Creation
At its core, a printed circuit board is a flat board made from insulating material, usually fiberglass, with conductive copper traces that connect various electronic components. The main goal of PCB design for beginners is to translate a circuit schematic into a physical layout that can be manufactured and assembled.
- Schematic: A diagram showing how components connect electrically.
- Layout: The physical arrangement of traces and components on the board.
- Layers: Most simple boards are single- or double-sided, but complex designs may use multiple layers.
- Pads and Vias: Pads are spots for soldering components; vias connect traces between layers.
Beginners should start with single-layer or double-layer designs, as these are easier to understand and manufacture. As you gain experience, you can explore more advanced features like multi-layer routing and surface-mount technology.

Essential Tools and Software for New Designers
The right tools make the process of creating a board much smoother. For those just starting, several free and beginner-friendly software options are available:
- KiCad: Open-source and widely used, suitable for both simple and advanced projects.
- EasyEDA: Web-based, intuitive, and great for quick prototyping.
- Fritzing: Designed for hobbyists, with a gentle learning curve.
These programs allow you to draw schematics, place components, and route traces. Most also generate the files needed for manufacturing, such as Gerber files. As you gain confidence, you can explore more advanced features and even try commercial tools like Altium Designer or Eagle.
Step-by-Step Process: From Idea to Finished Board
The journey from concept to finished PCB involves several key steps. Here’s a practical overview tailored for those new to the process:
- Define Your Circuit: Start by drawing a schematic of your circuit, either on paper or using your chosen software. Make sure you understand how each component connects and functions.
- Select Components: Choose parts that are readily available and suitable for your project. Pay attention to package types (through-hole vs. surface-mount) and ensure they fit your skill level.
- Create the PCB Layout: Place components on the virtual board, keeping related parts close together. Route the copper traces to connect everything as shown in your schematic. Beginners should keep traces as short and direct as possible.
- Add Pads, Vias, and Labels: Make sure each component has a pad for soldering. Use vias if you need to connect traces on different layers. Add labels for easy assembly and troubleshooting.
- Design Rule Check (DRC): Use your software’s built-in tools to check for errors such as short circuits, unconnected nets, or traces that are too close together.
- Export Manufacturing Files: Once your design is error-free, export the necessary files (usually Gerber and drill files) for manufacturing.
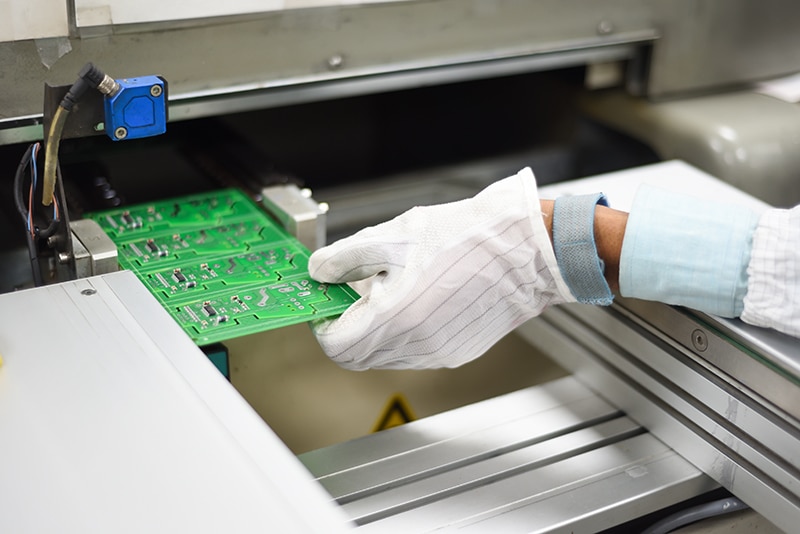
- Order and Assemble: Send your files to a PCB manufacturer. Once you receive the boards, solder the components and test your circuit.
For a deeper look at the manufacturing process, you can refer to resources like the complete process of electronic manufacturing services, which explains how boards move from design to finished product.
Key Tips for a Successful First Project
While the basics are straightforward, there are several best practices that can help beginners avoid common pitfalls:
- Keep it simple: Start with a small, single-sided board to minimize complexity.
- Double-check your schematic: Errors here will carry over to the layout and final board.
- Mind your clearances: Ensure there’s enough space between traces and pads to prevent shorts.
- Label everything: Clear labels make assembly and troubleshooting much easier.
- Plan for testing: Include test points or headers where you can measure voltages or signals. For more on this, see the earlier section on test points.
As you progress, you may want to explore topics like how vias are made in PCBs or the copper plating process explained to deepen your understanding of board construction.
Common Challenges and How to Overcome Them
Beginners often encounter a few recurring issues when working on their first boards:
- Trace Routing Difficulties: If traces cross or overlap, try repositioning components or using vias to jump between layers.
- Manufacturing Errors: Always run a design rule check and review the Gerber files before sending them to a manufacturer.
- Assembly Mistakes: Double-check component orientation and values before soldering. Use a multimeter to verify connections.
- Testing and Debugging: Plan for easy access to key points on your board. For more on this, see electronics inspection methods.
Don’t be discouraged by early mistakes. Each project is a learning opportunity, and even experienced designers encounter challenges. The key is to review what went wrong, adjust your process, and try again.
Frequently Asked Questions
What is the best software for someone just starting with PCB layouts?
For those new to board design, KiCad and EasyEDA are both excellent choices. They offer intuitive interfaces, strong community support, and plenty of tutorials. Fritzing is also a good option for hobbyists and educational projects.
How do I avoid short circuits and other common errors?
Always run a design rule check (DRC) in your software before exporting files. Make sure traces are not too close together, double-check your schematic, and keep your layout organized. Labeling and planning for test points also help in troubleshooting.
Can I manufacture my first PCB at home?
While it’s possible to etch simple boards at home, most beginners find it easier and more reliable to use professional PCB fabrication services. These services are affordable and deliver higher-quality results, especially for double-sided or more complex designs.