


Solder bridges are a common issue in electronics assembly, especially when working with fine-pitch components or densely populated circuit boards. These unintended connections between adjacent pads or traces can cause short circuits, device malfunction, or even permanent damage to electronic assemblies. Understanding the causes and prevention methods is essential for anyone involved in soldering, whether for prototyping, repair, or mass production.
In this guide, we’ll explore practical strategies to minimize the risk of solder bridges, from preparation and technique to inspection and correction. By following best practices, you can significantly improve the reliability and quality of your electronic projects. For a broader overview of assembly standards, you may also find value in reviewing electronic assembly best practices to complement the techniques discussed here.
Understanding Solder Bridges and Their Causes
A solder bridge occurs when excess solder forms an unintended conductive path between two or more adjacent pads or pins. This typically happens during manual soldering or reflow processes, especially with surface-mount devices (SMDs) that have closely spaced leads. Recognizing the root causes is the first step toward effective prevention.
- Excessive solder application can easily spill over and connect neighboring pads.
- Improper soldering technique, such as dragging the iron or using the wrong tip size, increases the risk.
- Poor PCB design with minimal spacing between pads makes bridging more likely.
- Contaminated surfaces or inadequate flux can prevent solder from adhering properly, leading to unintended connections.
Preparation: Key Steps to Prevent Solder Bridging
Proper preparation is essential for minimizing the risk of solder bridges. Before starting any soldering work, take the following steps to set yourself up for success:
- Clean the PCB and components: Remove dust, grease, and oxidation from both the board and component leads. Use isopropyl alcohol and a lint-free cloth for best results.
- Apply flux appropriately: Flux helps solder flow smoothly and prevents oxidation. Use a quality flux pen or paste, especially for fine-pitch SMDs.
- Select the right solder and tip: Choose solder with a suitable diameter for your work (typically 0.5–0.8 mm for SMDs) and a soldering iron tip that matches the pad size.
- Inspect pad spacing: Ensure the PCB layout provides adequate clearance between pads. For more on layout considerations, see this resource on electronics packaging types.
Techniques for Reliable Soldering Without Bridges
Mastering the right soldering techniques is crucial for avoiding accidental connections. Here are proven methods to help you achieve clean, reliable joints:
Controlled Solder Application
Use only as much solder as needed to form a solid connection. For through-hole components, feed solder to the joint—not the iron tip. For SMDs, consider tack-soldering one pin to hold the part in place, then carefully solder the remaining pins.
Tip Selection and Maintenance
A fine or chisel tip provides better control for small pads. Keep the tip clean and tinned to ensure efficient heat transfer and prevent solder from clumping or bridging.
Drag Soldering and Wick Usage
When working with fine-pitch ICs, drag soldering can be effective if done correctly. Apply flux, then drag a small bead of solder along the pins with a clean tip. If a bridge forms, use solder wick to remove excess solder and separate the connections.

Inspection and Correction: Ensuring a Bridge-Free Assembly
Even with careful technique, it’s important to inspect your work for solder bridges before powering up a circuit. Here’s how to catch and fix problems early:
- Visual inspection: Use a magnifying glass or microscope to check for shiny connections between adjacent pads.
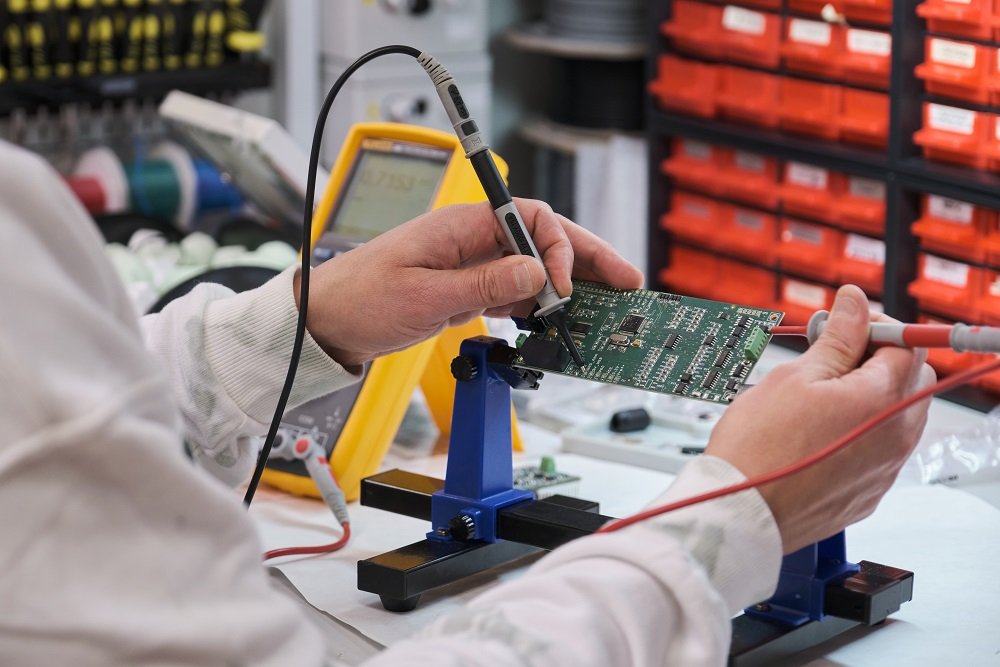
- Continuity testing: Use a multimeter in continuity mode to check for shorts between pins that should not be connected.
- Rework as needed: If you find a bridge, reheat the area with a clean, tinned iron and use solder wick to absorb the excess solder. Add a bit of fresh flux if necessary.
For a deeper understanding of the overall process, you may want to review an electronics fabrication workflow, which covers the steps from PCB design to final inspection.
Advanced Tips for Reducing Solder Bridges in Production
In professional manufacturing environments, additional steps are taken to further reduce the risk of bridging:
- Stencil design: Use properly designed solder paste stencils to control the amount and placement of solder paste during reflow soldering.
- Pick-and-place accuracy: Ensure components are placed precisely on pads. Learn more about how pick and place machines work to understand the importance of placement in automated assembly.
- Quality control systems: Automated optical inspection (AOI) and X-ray systems can detect bridges that are invisible to the naked eye. For more on inspection, see electronics quality control explained.
- Operator training: Regular training ensures technicians use correct soldering practices and remain vigilant for defects.
For those interested in the broader context of electronics manufacturing, this comprehensive guide to semiconductor fabrication processes provides an in-depth look at the steps involved in creating advanced electronic devices.
Frequently Asked Questions
What are the most common causes of solder bridges?
The most frequent causes include applying too much solder, using an oversized iron tip, insufficient flux, and working with PCB layouts that have minimal spacing between pads. Inadequate cleaning and improper soldering technique can also contribute.
How can I remove a solder bridge once it has formed?
To remove a bridge, apply fresh flux to the affected area, then use a clean soldering iron tip to reheat the solder. Place solder wick over the bridge and gently press with the iron to absorb excess solder. Repeat as needed until the connection is clear.
Are there tools that help prevent solder bridging during assembly?
Yes. Using a fine-tipped soldering iron, quality flux, and appropriately sized solder wire can help. In production, solder paste stencils, pick-and-place machines, and automated inspection systems all contribute to minimizing bridging risks.