


Testing embedded hardware systems is a critical step in the development process. It ensures that the system is functioning correctly and efficiently before it is deployed. This guide will provide a comprehensive overview of the process, from setting up the testing environment to executing the tests and analyzing the results.
Before we delve into the specifics of testing embedded hardware systems, it’s important to understand the importance of a well-optimized hardware design workflow. A streamlined workflow not only speeds up the development process but also makes testing more efficient.
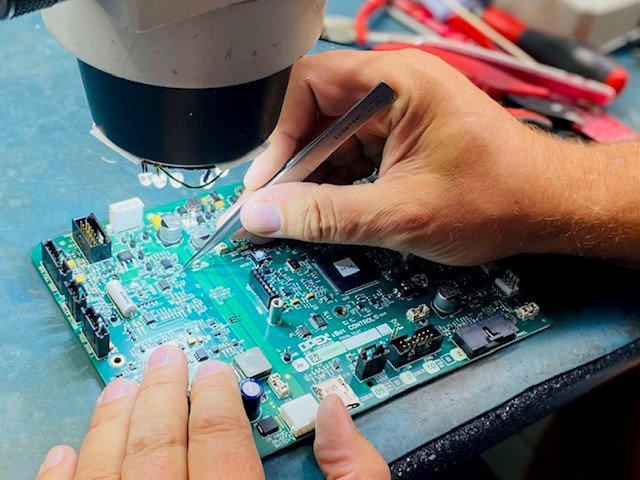
Setting Up the Testing Environment
The first step in testing embedded hardware systems is setting up the testing environment. This involves preparing the hardware, installing necessary software, and configuring the system for testing.

Executing the Tests
Once the testing environment is set up, the next step is to execute the tests. This involves running a series of tests to check various aspects of the system’s performance, such as speed, power consumption, and reliability.
Analyzing the Results
After the tests have been executed, the results need to be analyzed. This involves interpreting the data collected during testing and identifying any issues that need to be addressed.
Addressing Identified Issues
The final step in the testing process is addressing any issues identified during analysis. This may involve making changes to the hardware design or software code, and then re-testing to ensure the issues have been resolved.
For a deeper understanding of hardware prototyping and its purpose, you can refer to this descriptive article.
By following these steps, you can effectively test embedded hardware systems and ensure they are ready for deployment. Remember, thorough testing is key to the success of any hardware project.