

Prototyping hardware with the aid of Raspberry Pi is a practical, cost-effective approach for inventors and developers alike. This article will provide a comprehensive guide on how to effectively use Raspberry Pi for your hardware prototyping needs.
Before we delve into the specifics, it is crucial to understand the importance of tolerances in hardware design. Tolerance levels can significantly impact the functionality and reliability of your prototype.
Understanding the Basics of Raspberry Pi
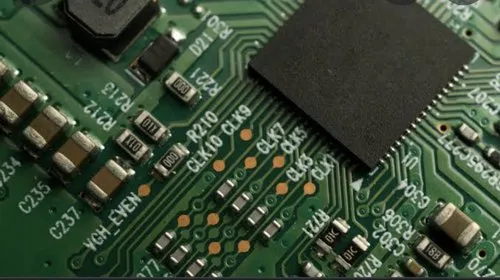
Raspberry Pi is a compact computer that offers a platform for inventors to experiment, create, and prototype. It’s highly versatile and supports a wide range of hardware interfaces, making it an ideal tool for hardware prototyping.
Steps to Prototype Hardware with Raspberry Pi
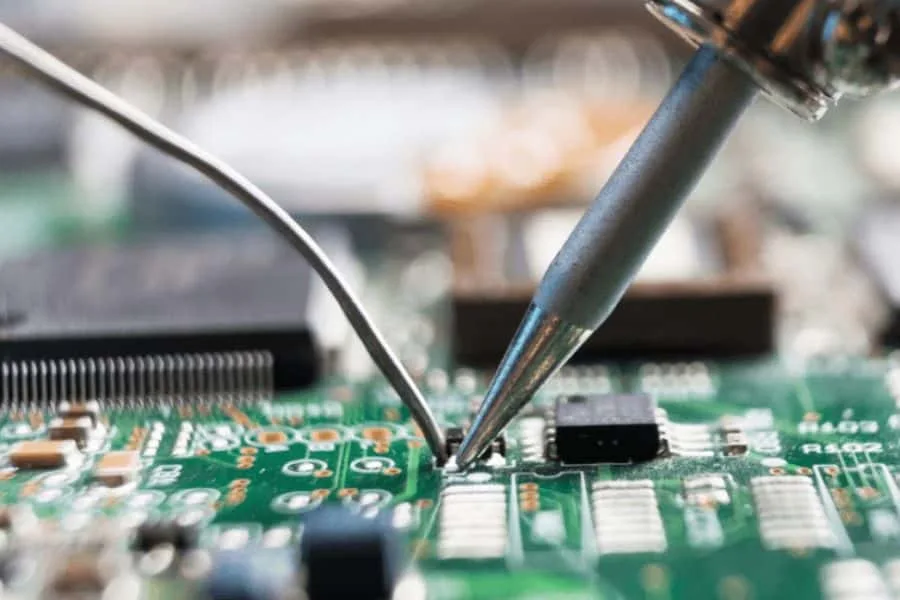
The process of hardware prototyping using Raspberry Pi involves several steps. These include planning your project, setting up the Raspberry Pi, connecting the hardware, and testing your prototype.
Testing and Verifying Your Prototype
Once you have your prototype set up, the next step is to test it. This involves verifying that the hardware and software are working together as expected. It’s also important to check for any potential issues that could affect the performance or reliability of your prototype.

Final Thoughts on Hardware Prototyping with Raspberry Pi
Raspberry Pi provides a flexible and affordable platform for hardware prototyping. By following the steps outlined in this guide, you can create functional prototypes that bring your ideas to life. To further understand the process, consider exploring why you need rapid prototyping solutions for hardware innovation.
By Ethan Carter, Published on 2025-11-04